
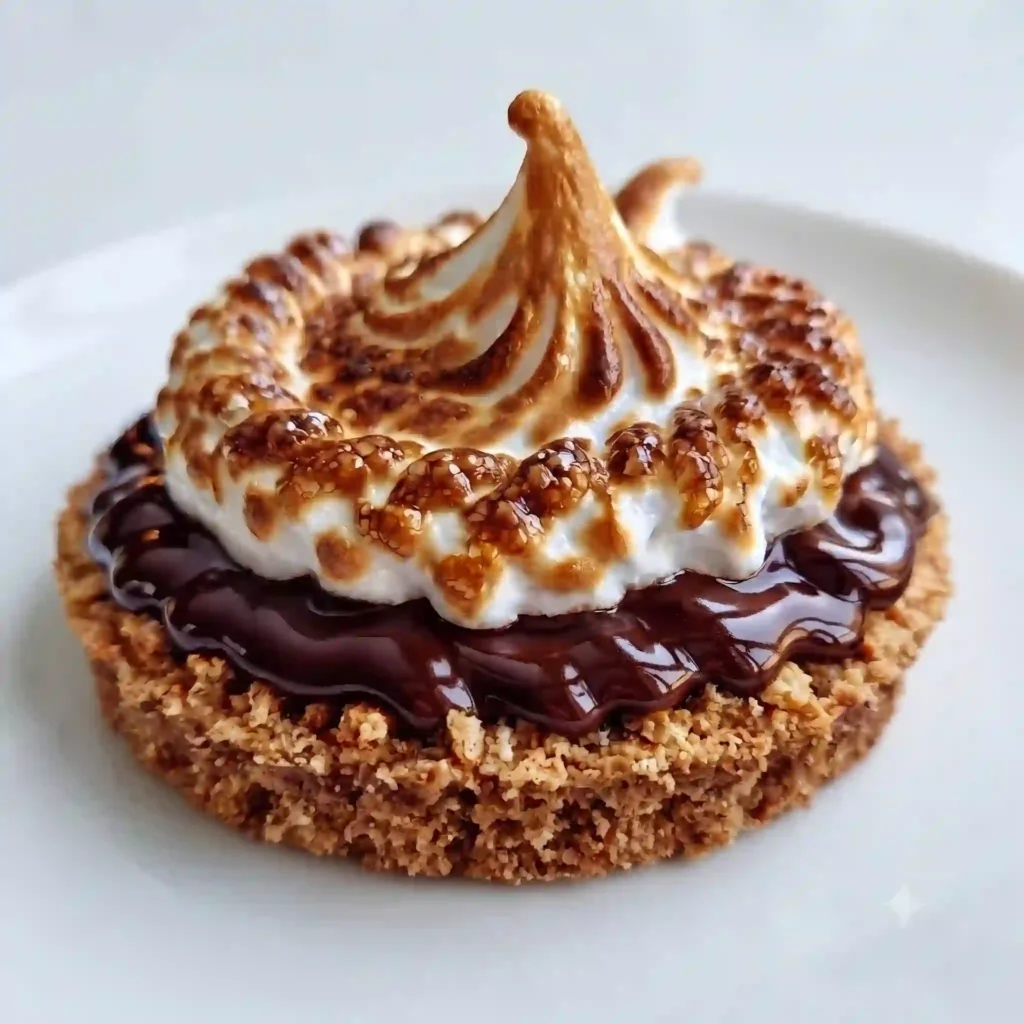
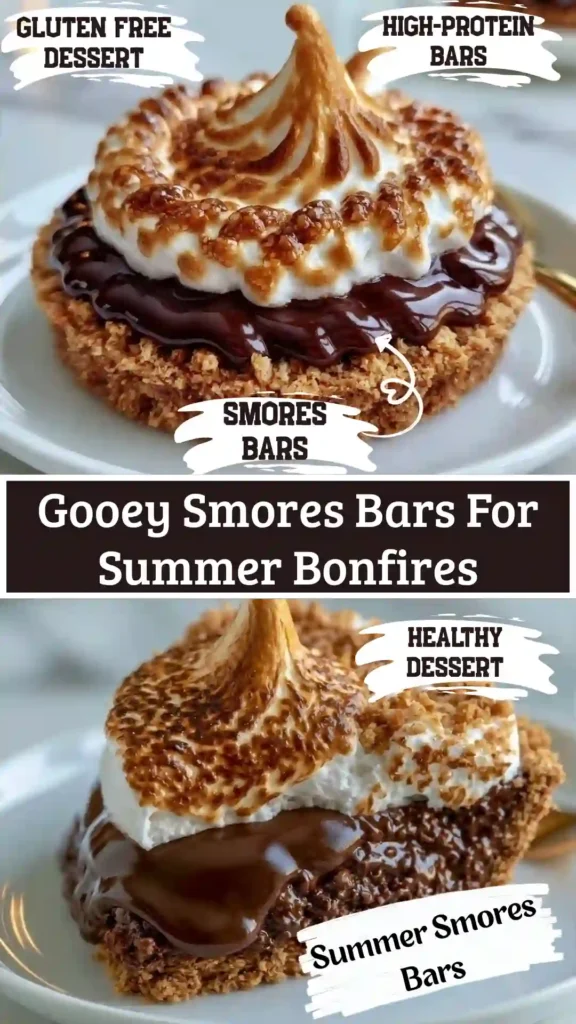
Gooey Smores Bars For Summer Bonfires are the ultimate crowd-pleasing warm-weather dessert that bring all the nostalgic flavor of classic campfire s’mores directly into your kitchen in just 15 minutes of prep time. Featuring a rich, buttery graham cracker crust, a thick layer of melted milk chocolate bars, and a golden, toasted marshmallow top, this easy one-bowl bake delivers irresistible gooey perfection without needing an open flame.
By using smart supermarket shortcuts like pre-crushed graham cracker crumbs and mini marshmallows, you bypass tedious campfire assembly and feed a whole crowd all at once. Perfect for summer backyard barbecues, pool parties, or late-night bonfire gatherings, these portable dessert bars yield clean slices that satisfy every sweet tooth with zero mess and maximum speed.
What Is Gooey Smores Bars For Summer Bonfires?
Gooey Smores Bars For Summer Bonfires are an express, crowd-friendly sheet-pan dessert designed to replicate traditional bonfire s’mores using an oven or broiler. The recipe layers a pre-baked buttery graham cracker crust with solid milk chocolate bars and mini marshmallows, which are quickly toasted to golden perfection. It delivers the signature sticky, sweet, and smoky-sweet profile of outdoor s’mores in a convenient, sliceable bar format.
Why You’ll Love This Gooey Smores Bars For Summer Bonfires
- 15-Minute One-Bowl Prep: Rapid assembly using one mixing bowl and simple grocery store staples.
- No Campfire Needed: Enjoy authentic summer bonfire flavors rain or shine without building an outdoor fire.
- Feeds a Crowd Fast: Yields 16 to 24 sliceable bars in a single 9×13 pan, perfect for summer gatherings.
- Mess-Free Serving: Stays neatly layered so guests can enjoy sticky s’mores flavor without burnt fingers.
- Budget-Friendly Ingredients: Made with inexpensive pantry items like graham crumbs, chocolate bars, and mini marshmallows.
Ingredients for Gooey Smores Bars For Summer Bonfires
Main Ingredients
- 2 1/2 cups pre-crushed graham cracker crumbs
- 1/2 cup granulated white sugar
- 3/4 cup unsalted butter, melted
- 4 full-sized milk chocolate candy bars (such as Hershey’s, 1.5 oz each)
- 4 cups mini marshmallows
Flavor Ingredients
- 1 teaspoon pure vanilla extract
- 1/2 teaspoon ground cinnamon
- 1/4 teaspoon fine sea salt
Optional Add-Ins
- 1/2 cup milk chocolate chips for extra melted pockets
- 1/3 cup peanut butter chips scattered over the chocolate layer
- 1/4 cup crushed pretzel bits mixed into the crust for a salty kick
Ingredient Notes & Smart Swaps
- Graham Cracker Crumbs: Buying pre-crushed crumbs saves 10 minutes of food processor prep.
- Chocolate Bars: Classic milk chocolate bars melt smoother than dark chocolate morsels for that authentic campfire stretch.
- Marshmallows: Mini marshmallows brown more evenly under the broiler than large marshmallows.
Step-by-Step Instructions
- Preheat and Prepare: Preheat your oven to 350°F (175°C). Line a 9×13-inch baking pan with aluminum foil or parchment paper, leaving an overhang on the sides, and spray lightly with non-stick cooking spray.
- Mix the Crust: In a large bowl, combine 2 1/2 cups graham cracker crumbs, 1/2 cup sugar, 1/2 teaspoon cinnamon, and 1/4 teaspoon salt. Pour in 3/4 cup melted butter and 1 teaspoon vanilla extract. Stir until the mixture resembles wet sand.
- Press into Pan: Dump the crust mixture into the prepared pan. Press down firmly into an even, tight layer using the flat bottom of a measuring cup.
- Blind Bake Crust: Bake the crust for 8 to 10 minutes until set and fragrant. Remove from the oven (keep oven on).
- Layer the Chocolate: Immediately arrange the milk chocolate bars in a single layer over the hot crust, breaking pieces to fit and cover the entire base.
- Add Marshmallow Top: Scatter 4 cups of mini marshmallows evenly over the melted chocolate layer, pressing them down lightly into the chocolate.
- Bake & Toast: Return the pan to the oven and bake for 5 to 7 minutes until marshmallows puff up. Switch the oven to BROIL on HIGH for 1 to 2 minutes, watching constantly, until the marshmallow tops are toasted golden brown.
- Cool & Slice: Remove from oven and let cool completely in the pan for 45 minutes to 1 hour. Lift out using the foil handles, slice into bars with a greased knife, and serve.
Pro Tips for Success
- Watch the Broiler Constantly: Marshmallows go from golden brown to burnt in under 15 seconds under a broiler; never walk away from the oven during the broiling step.
- Pack the Crust Firmly: Pressing the graham crumb base down firmly prevents the bars from crumbling when sliced.
- Grease Your Knife: Wipe your chef’s knife with cooking spray or warm water between cuts to glide easily through sticky toasted marshmallows.
Common Mistakes to Avoid
- Cutting While Hot: Cutting warm bars creates a messy chocolate pool; let bars cool fully so layers set into clean squares.
- Using Stale Marshmallows: Old marshmallows do not puff or toast evenly; use fresh, soft mini marshmallows.
- Skipping the Pan Lining: Baking directly in an unlined pan causes melted sugar to lock onto the sides, making removal impossible.
Flavor Variations
- Peanut Butter Bonfire Bars: Spread 1/3 cup of creamy peanut butter over the warm crust before adding chocolate bars.
- Salted Caramel S’mores Bars: Drizzle 1/4 cup of thick caramel sauce and sea salt flakes over the toasted marshmallows.
- Cookies & Cream S’mores Bars: Substitute half the graham crumbs with crushed Oreo cookies for a dark chocolate twist.
Serving Suggestions
- Serve at room temperature alongside cold glasses of milk, iced coffee, or summer lemonades.
- Serve warm topped with a scoop of vanilla bean ice cream for a warm-and-cold skillet-style dessert.
- Wrap individual bars in parchment paper for easy packing into picnic baskets or bonfire coolers.
Meal Prep & Make-Ahead Tips
- Make-Ahead Desserts: Bake these bars up to 24 hours in advance of your party. Keep them covered at room temperature for instant serving.
- Easy Transport: Leave the cooled slab in the foil-lined pan, cover with plastic wrap, and slice fresh upon arrival at the bonfire site.
Storage and Freezing Instructions
- Room Temperature Storage: Store sliced bars in an airtight container at room temperature for up to 4 days. Separate layers with parchment paper.
- Freezing: Wrap unglazed sliced bars tightly in plastic wrap and foil, then freeze for up to 2 months. Thaw at room temperature for 30 minutes before serving.
Nutrition Facts
| Nutrient | Amount Per Serving (1 Bar, 1/16th of pan) |
| Calories | 280 kcal |
| Total Fat | 13 g |
| Saturated Fat | 7 g |
| Sodium | 180 mg |
| Total Carbohydrates | 39 g |
| Dietary Fiber | 1 g |
| Sugars | 25 g |
| Protein | 3 g |
Expert FAQ About Gooey Smores Bars For Summer Bonfires
Can I make these s’mores bars ahead of time for a picnic?
Yes! These bars are ideal for advance prep because the graham crust and chocolate layer set firmly as they cool, making them completely portable.
What is the best way to cut sticky s’mores bars cleanly?
Allow the pan to cool completely to room temperature. Lightly coat a large sharp knife with non-stick cooking spray and wipe the blade clean between every cut.
Can I use full-sized marshmallows instead of mini ones?
Yes, but snip full-sized marshmallows in half with kitchen shears before placing them on the chocolate so they toast evenly without expanding too tall.
Why This Recipe Is Trending Right Now
Summer entertaining and low-effort party desserts are dominating seasonal recipe trends. Gooey Smores Bars For Summer Bonfires give hostesses a 15-minute way to serve nostalgic campfire flavors to large crowds without dealing with smoky wood fires or sticky skewers.
Final Thoughts
You do not need a campfire or an open outdoor flame to enjoy warm, melty s’mores this summer. These 15-minute prep Gooey Smores Bars For Summer Bonfires deliver all the golden marshmallow stretch, rich melted chocolate, and buttery graham crunch in easy sliceable squares. Bake a pan today and bring the taste of summer to your table!